Remember this shade from the
George Nelson Bubble Lamp shade post a couple of days ago?
 |
| George Nelson Bubble Saucer Lamp Reproduction shade. |
Follow along and watch it get turned into a functioning lamp. I'll list all the parts and tools you'll need. DIY project inside. Come on in, I'll wait.
I found this Nelson reproduction lamp shade. If it were complete with all the lamp parts it would retail for $329.00 Wanna know a big secret? Most of what you're paying for is the shade. The lamp parts listed below cost less than twenty bucks. And I paid high prices for this stuff. It is available for less money. Details to follow.
You will need these tools:
Pliers
Wire Cutters
Phillips Screwdriver
Wire Stripper, Teeth, or Knife
I bought all of these parts at Ace Hardware. This is not an endorsement of Ace. I would have preferred to get this stuff at Lowes or Home Depot, but Ace is more convenient to me. They are retail price city and this stuff can be had for less money elsewhere. Shop around.
You will need these parts:
 |
| The six foot extension cord cost fifty cents in a thrift store. |
 |
| This is a 3-Way Pull Chain socket - $7.99 at Ace |
 |
| You'll only need one of these, but the bag cost $1.79 (or close to it) |
 |
| You'll use one of these (the 1" one), but the bag cost about $3.79 |
 |
| You'll use all of this, and I believe it was $5.99 |
First thing I did was cut the ends off the extension cord. This will be the white (and you DO want white for this lamp) cord from which the lamp hangs.
 |
| Cut off both ends and strip the plastic casing back. |
 |
| This cord cost fifty cents. I don't feel bad throwing the ends away. |
 |
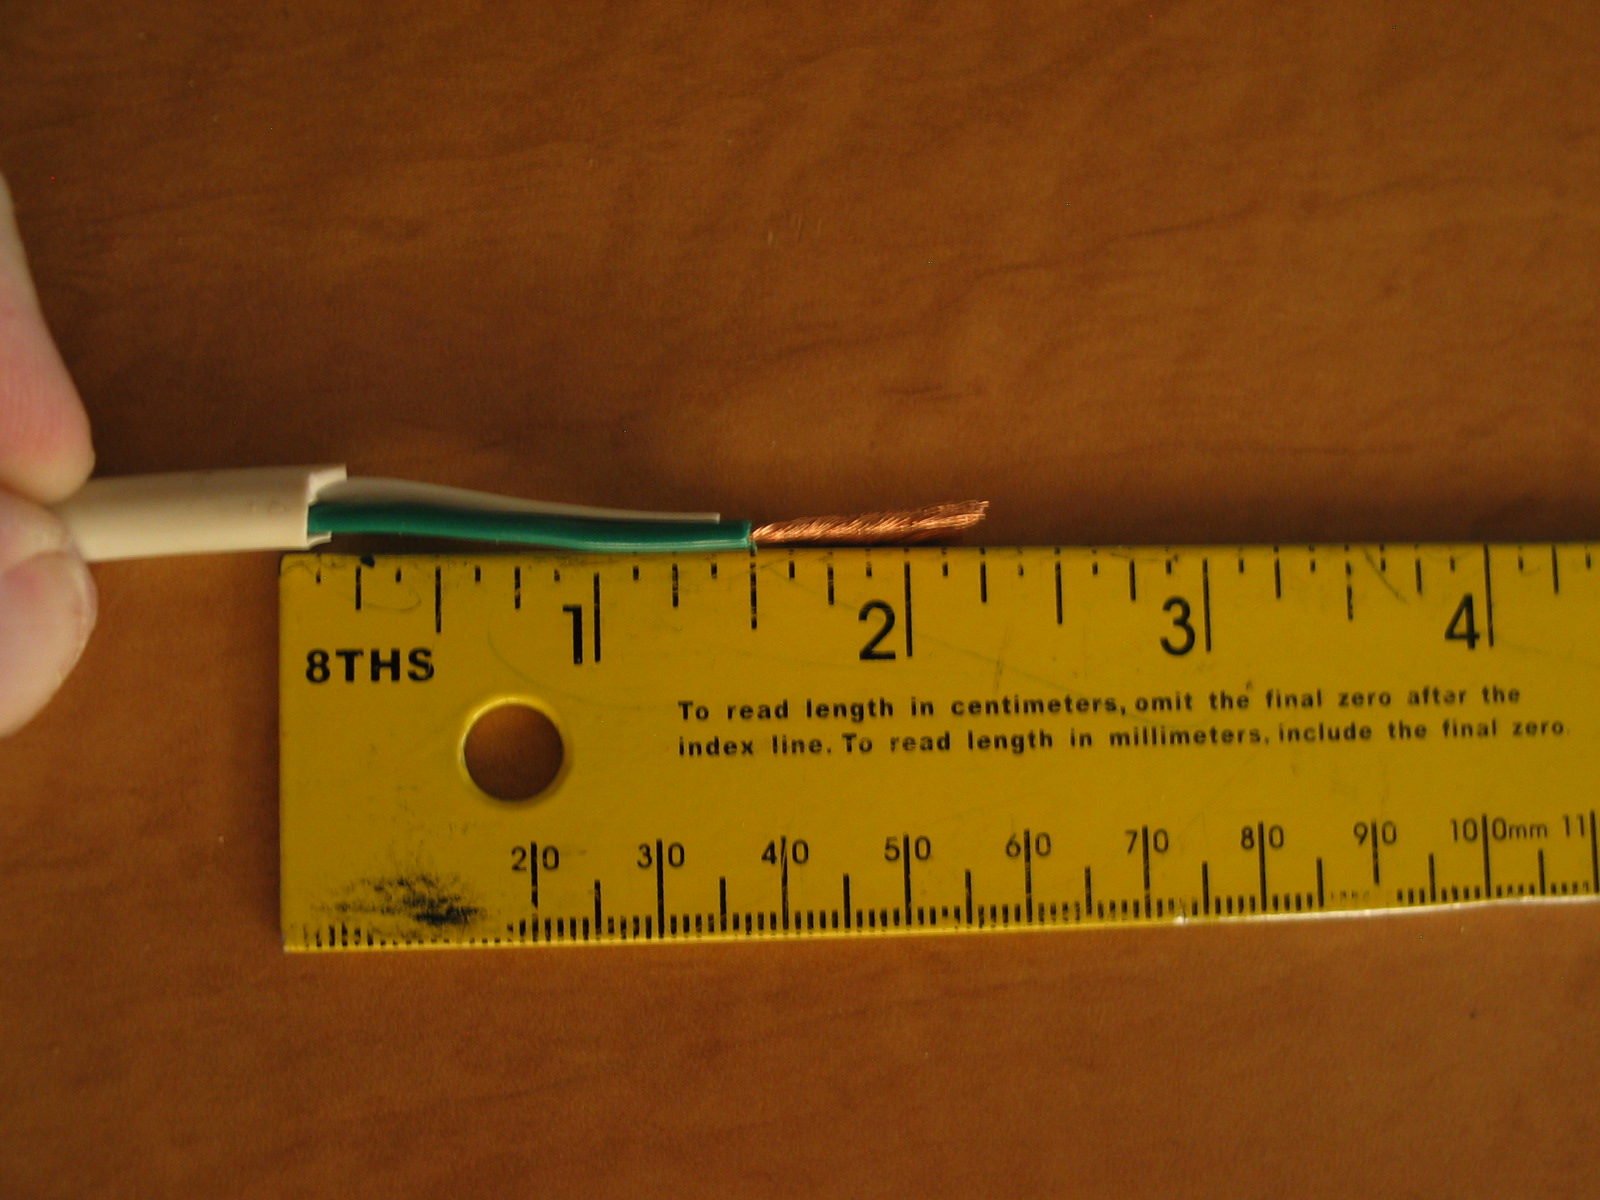
| Strip both ends |
 |
| Make your stripped ends about this long. |
Now I have the white cord that provides both the electricity to the lamp and suspends the lamp from the ceiling. Some powdered
Bar Keepers Friend and a damp cloth will clean that cord and usually eliminate the printing on it.
The socket is what the light bulb screws into. I chose a 3-Way because I like the options of varying levels of light without having to use a dimmer.
 |
| The socket with set screw removed, and the nipple we will use with it. |
I'll use a 3-Way compact fluorescent bulb (although they're pretty expensive) because they don't use nearly as much power for the same amount of light, and they don't put off nearly as much heat. I'm not sure what the wattage maximum for this shade is, but with a compact fluorescent I'll get my 3 levels of illumination without worry about melting the shade.
You may choose to use a simple on and off pull chain socket and an incandescent bulb instead of a 3-Way socket and a CF bulb, but keep in mind the maximum wattage of incandescent bulb the shade can handle without melting.
Here is the socket broken down into its component parts.
 |
| Screw the nipple into the socket and replace the set screw. |
In the picture above I have already installed the nipple. Tighten it down fairly tightly, but don't go all
Incredible Hulk on it. You may have to back out the set screw to install the nipple. If so tighten the set screw snugly against the nipple.
 |
| It should look like this when you're done. |
Now is a good time to push the wire through the nipple/socket assembly. This is really easy. Push one end of the wire through the nipple just like in the picture below.
 |
| Push one end of the wire through the nipple/socket assembly. |
|
|
Now that the wire is sticking out of the nipple/socket assembly you want to tie something of a knot into the cord so the wire can't be pulled back out of the socket. I used the green wire and made a loop around the black wire and then around the white wire. Then I took the bare end and pulled it through the loop I made and pulled it tight.
 |
| Just a simple loop around both white and black to make a knot. |
Take the other end of your white cord, and starting from the bottom side of the shade, pull the cord through the hole in the top of the shade.
 |
| The other end of this wire has the socket attached to it. |
Now we can wire the socket. Excuse the fuzziness of the pictures. It's difficult to do this one handed. The black wire goes to the brass terminal. Loop the wire around the screw and tighten. The white wire goes to the silver screw. Loop the wire around the screw and tighten.
 |
| Black on brass. White on silver. |
Now slide the nipple/socket assembly up toward the socket that you just wired and push the socket shell over the socket. Push the socket shell down onto the nipple/socket assembly allowing the excess wire to fold up under the socket into the domed area beneath.
 |
| The excess wire will fold up into the domed area of the socket base. |
You should hear a click when the shell connects with the base. And it should look like the picture below.
 |
| You're done with this end. Hard part = done! |
Okay, back to the other end of the cord. Pull the cord all the way through the lamp shade.
 |
| Pull the cord all the up until the socket is inside the lamp shade. |
 |
| Use the washer from the Canopy Kit and one of the hex nuts. |
Pull the nipple through the hole in the lamp shade. Slide the washer and hex nut down the wire and screw the nut onto the nipple with the washer in between.
 |
| Pull the nipple through the hole in the top of the shade. |
 |
| Tighten the nut onto the nipple with the washer in between. |
You're almost finished with the lamp. Now your shade and twenty dollars worth of parts is this close to being a three hundred and twenty nine dollar retail lamp. Except that the shade is used. Big deal.
You could put something over the nipple where it sticks out of the top of the shade to dress it up a little bit, but I'm not going to. This part of the lamp will be above eye level and no one will ever see it.
 |
| Clean the cord and this part is finished. |
Now for attaching the canopy part. The canopy came with a chain loop. With a swag lamp you would bend open the first chain link and hook it through this loop. This isn't a swag lamp and the loop gets in the way. Time to get rid of it.
 |
| The canopy and chain loop thingy. |
 |
| This what it looks like before the operation. |
 |
| After a simple loop-ectomy using the wire cutters . . . |
 |
| . . . it looks like this. |
 |
| Push the cord through. |
 |
| Screw on the second hex nut. |
The lamp is done. You have a working George Nelson Bubble Saucer Lamp on one end of your white cord and a ceiling canopy and stripped wires ready to be attached to the wires in your ceiling box.
 |
| Both ends of your work. |
Since I'm not hanging my lamp just yet I can't show you the finished project, but here's what you do. Determine the hanging height of your lamp. Then, on the canopy end, trim the length of your white cord accordingly. You'll have to strip the ends of your wires again if you cut the length of your white cord. No sweat, you've had practice.
Assuming there's nothing in your ceiling box but the wires to one lamp you tie your black wire to black, your white wire to white, and your green wire to the little green screw or green wire (or the completely bare copper wire running between the white and black wires)
 |
| Black to black, white to white, and green to green. |
Take the two screws that came with the canopy kit and screw the canopy to the ceiling box. Poof! You're done.
 |
| These two screws came with the canopy kit |
We'll be back later with . . . more stuff


Awesome
ReplyDeleteWell, thank you. Thankyouverymuch.
ReplyDeleteWhy not order a new wire/socket kit from Modernica?
ReplyDeleteThis comment has been removed by a blog administrator.
ReplyDelete